
It’s no secret that my hand eye co-ordination could be better. I am far too clumsy for my own good and have been known to trip over thin air more times than I’d like to admit. This is part of the reason that I take bi-weekly trips to my local salon to get my nails done. I mean, don’t get me wrong I enjoy having fresh acrylics. However in reality my talons could easy last a week more if the polish hadn’t become chipped beyond repair. It’s not that I go to a bad salon, but I spend a lot of time typing and I nervously play with my nails. I’ve often thought about having shellac on top of my acrylics but at an extra £20 a time, it’s not really viable. So, when I saw the SensatioNail range in my local Boots I was curious to try.
Sensationail – At Home Gel Manicure
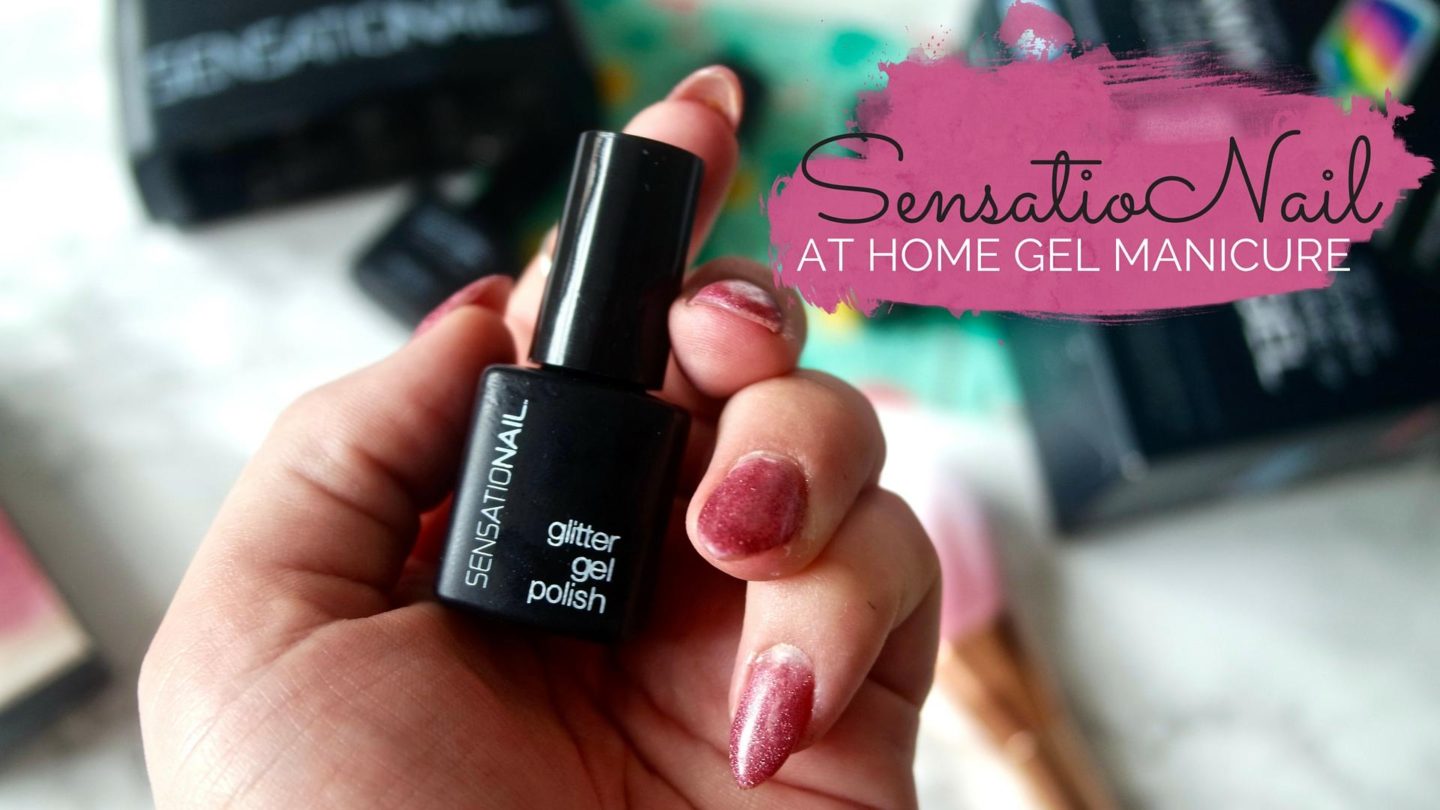
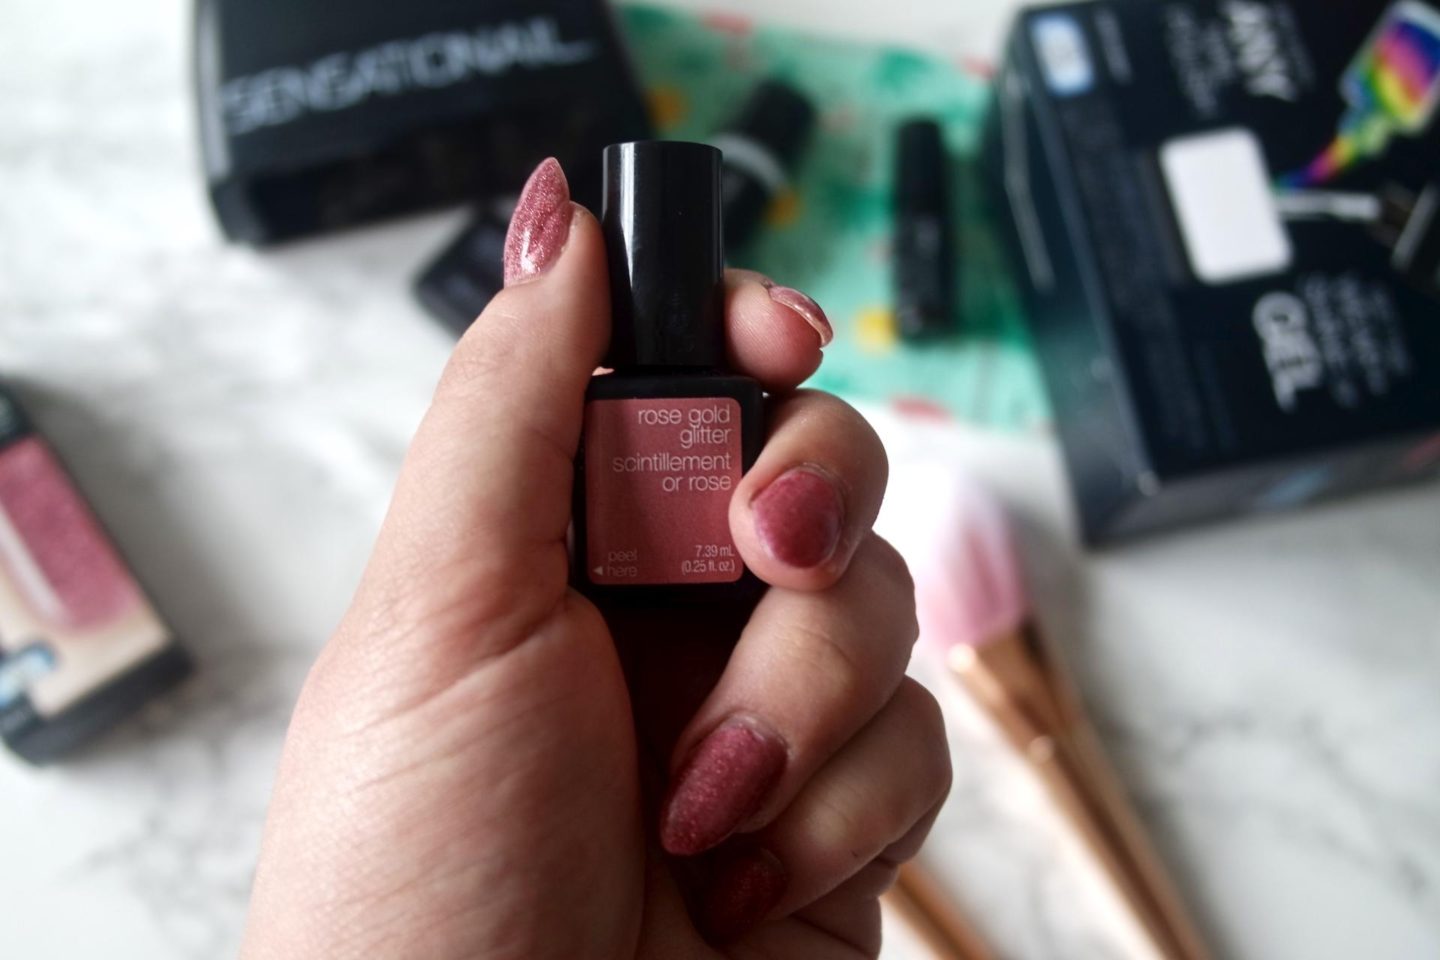
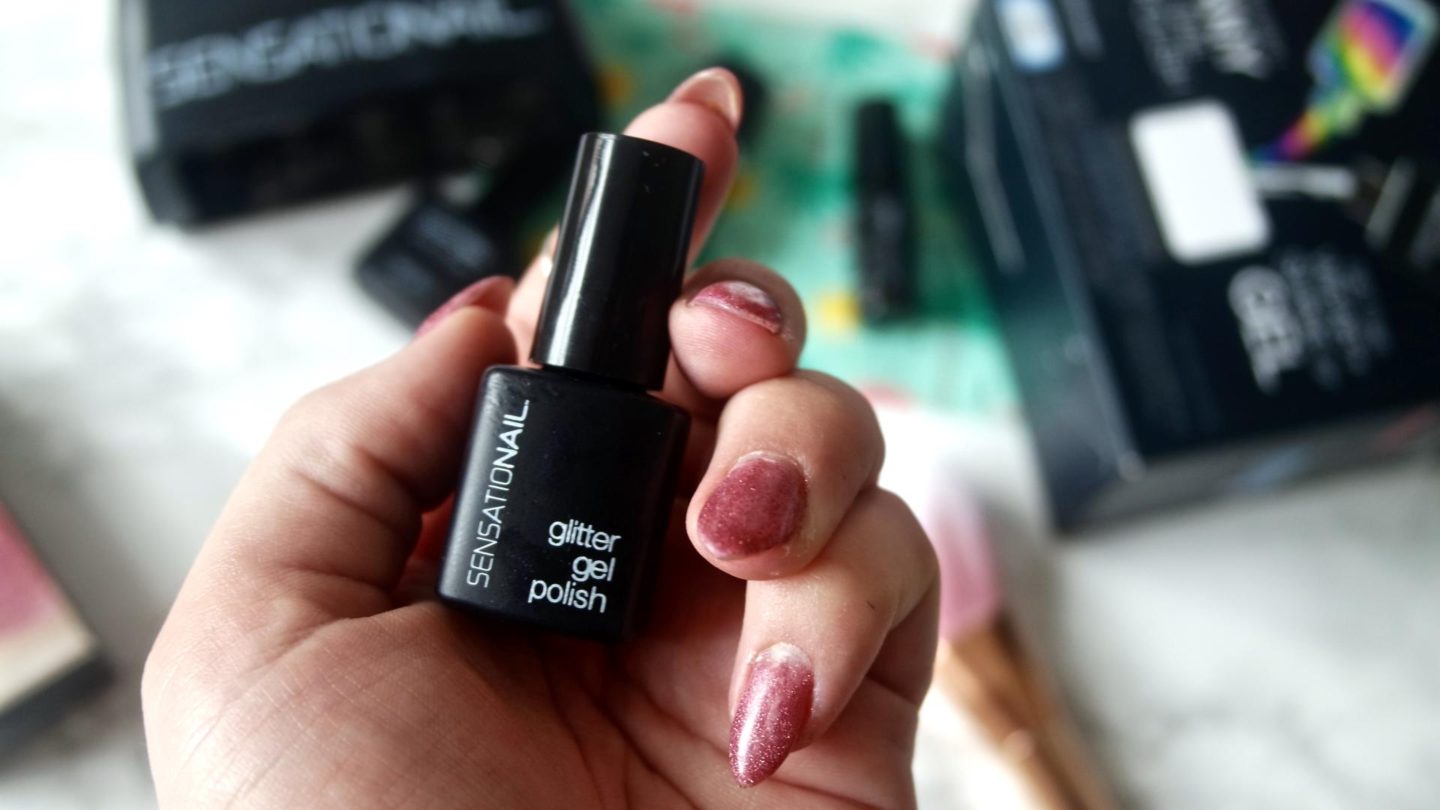
SensatioNail promises that with their kit you can turn any nail varnish into a gel any nail polish into a long-lasting, super-shiny gel finish. While I’m keen to try with my own polishes in the future, I instead picked up the Rose Gold Glitter SensatioNail Polish to start with. Because what blogger can say no to rose gold right?! Although, I feel it’s less rose gold and more a pinky rose colour with golden glitter. To be honest though, this goes with more of my wardrobe so no complaints from me!
Choosing your colour
In the SensatioNail Polish To Gel Starter Kit you get everything you need to transform your own nail polishes into gel. You mix two parts of the gel formula to one part of your own varnish and then you can get ready to apply. However if, like me, you’re not confident enough yet to play mixologist in your bedroom you can use one of SensatioNail’s pre mixed gel nail colours.
What to do;
You simply prep your nails by buffing your nails, pushing back your cuticles and shaping them however you please. As I’d already got the shape I wanted from the salon, I just removed my nail varnish and buffed. If you do reshape your nails, make sure you buff the sides out too. Then you wash your hands to get rid of any excess and clean using the gel cleanser and a lint free wipe. Word to the wise, don’t try do both hands at once or like me you might have the awkward “I can’t do anything!” moment.
After your nails are prepped, you prime them with the gel prime. Apply it sparingly and then let it dry for at least 30 seconds. You then paint with either your gel mix or gel polish and cure for 60 seconds. (Don’t worry about timing, the light turns itself off at this point!) With the glitter coat I needed two coats at 60 seconds each. Then finally you pop on the top coat and cure for 30 seconds. Then you’re pretty much set to enjoy your gel nails.
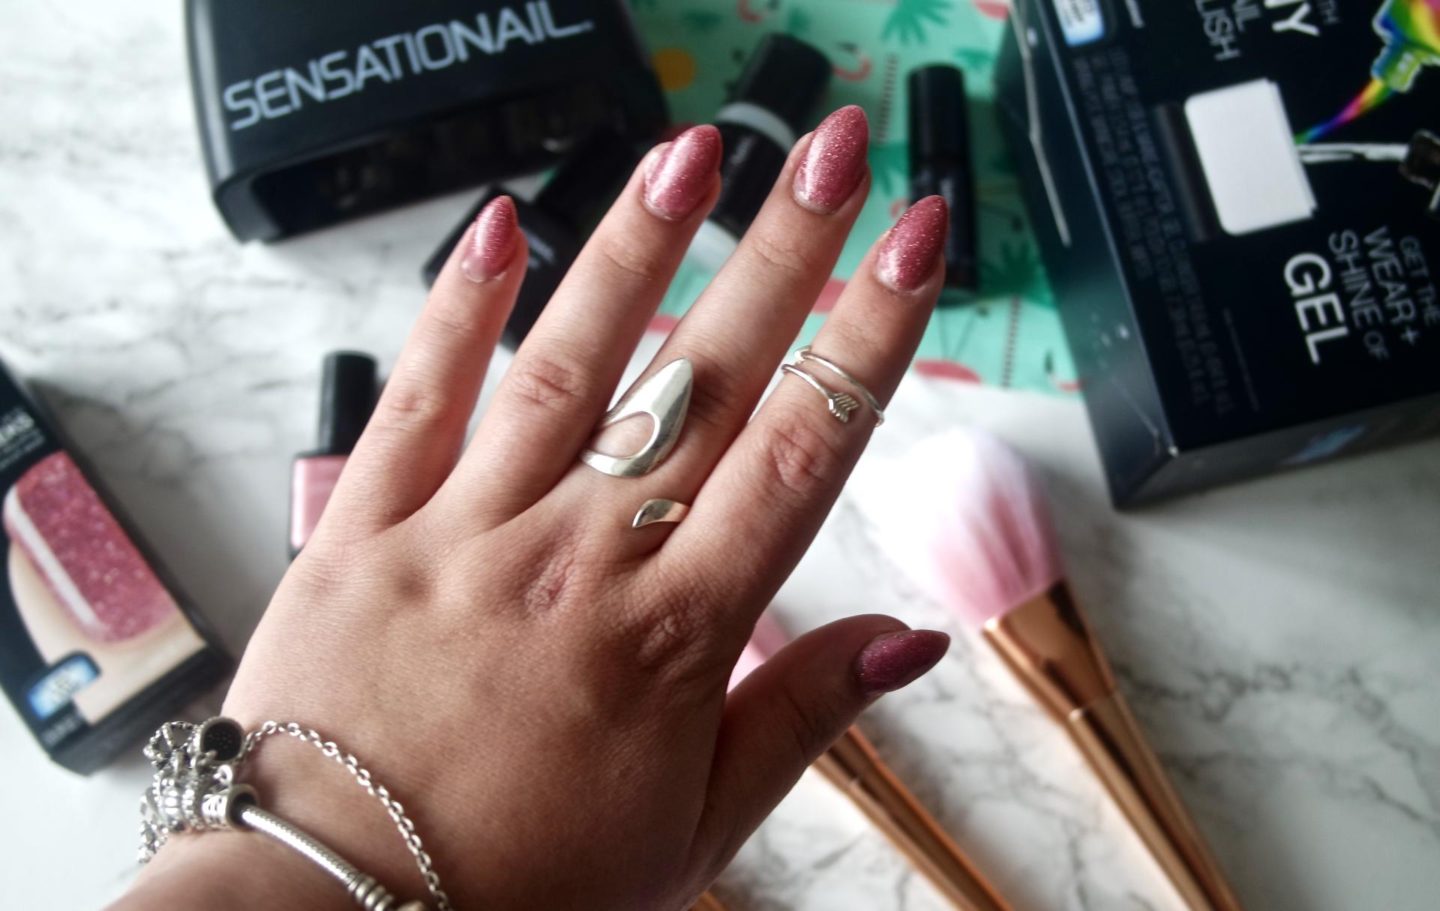
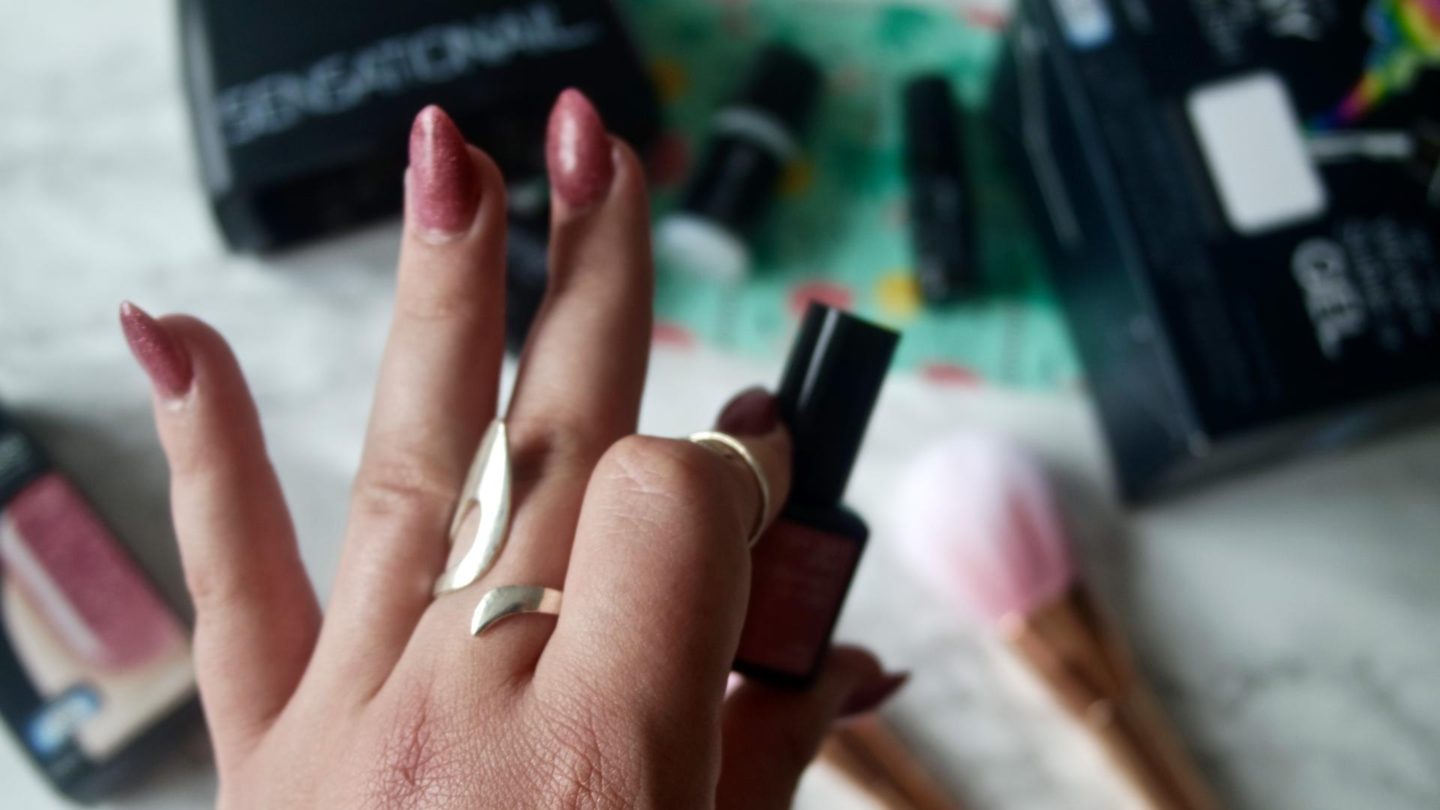
As someone who’s not exactly great with doing her own nails; I have to say that I found using SensatioNail a complete breeze. Although someone with more skill may get better results. I’m still really impressed at how good they look. Especially considering they only took around 10 minutes. & that included me figuring out how it all worked!
Have you tried SensatioNail or gel nails before?
Find me on;
Bloglovin’ | Twitter | Instagram
*Boots were kind enough to send me a SensatioNail starter kit and gel colour. However, all opinions are my own. For more information, check my disclaimer.


I’ve always heard good things about this kit but never thought of actually buying it and trying it, instead I just go and get my nails done! What a gorgeous colour this is too!
Parie x
classandglitter.com