Looking back on my photos in my first six months of blogging, I cringe a little. Although I’ve still got the same camera (well I slightly upgraded the body a few months ago) the difference in quality is insane. Seriously, when I first started blogging I just used to lay products on my bed (normally in really bad yellow toned artificial light – the horror) take a quick snap and upload them. Sometimes, I’d be a little more extravagant and use the “automatic adjust” setting on iPhoto or crop them before they ended up online but that was the most I’d do. It wasn’t that I didn’t care about my photography, just that I was a total newbie and didn’t realise that the clean crisp images I saw on some of my favourite blogs weren’t as unattainable as I first thought. It’s safe to say I’ve come a long way since then and while I’m not claiming to be an expert I thought I’d share some not only easy but cheap ways to up your blog photo game;

Set up your camera properly;
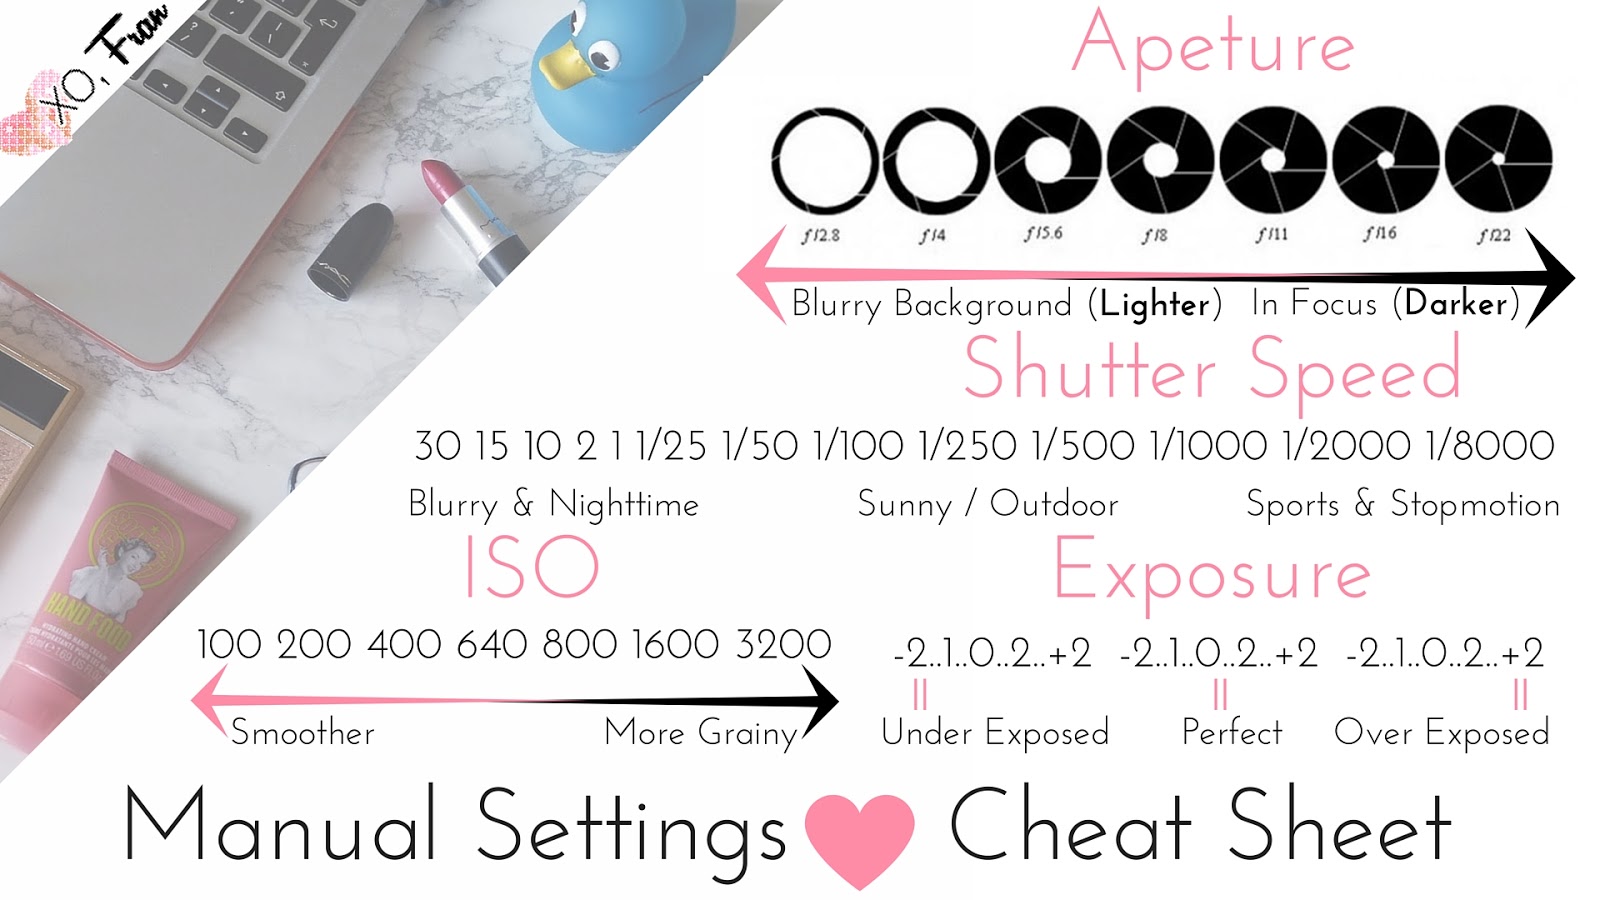
Another big factor is learning a little more about your camera itself. When I first bought my camera, I was almost afraid to play with the manual settings. I stuck with the automatic mode and while I did still get photos I was happier with, it took longer to achieve the effects I desired or I’d settle for it just being “okay”. Little did I know you don’t have to be a photography expert to have a play with your cameras manual settings. Above is a little guide that I used to help.
Aside from knowing your camera a little better, you’ll see a big difference by using a tripod to support it and keep it steady. Especially when you start playing around with the shutter speed, if you’ve not got an extremely steady hand it’s so easy to end up with blurry photos without the help of a tripod. It also makes it easier to set up and see what the final image will look like. Mine wasn’t at all expensive, £6.99 including delivery from eBay, although it’s a bit light to be suitable for outdoor use it’s perfect for what I currently use it for and packs away into a box with ease. If you use your smartphone instead, there’s also a range of mini tripods for your phone too.

Experiment with backgrounds;
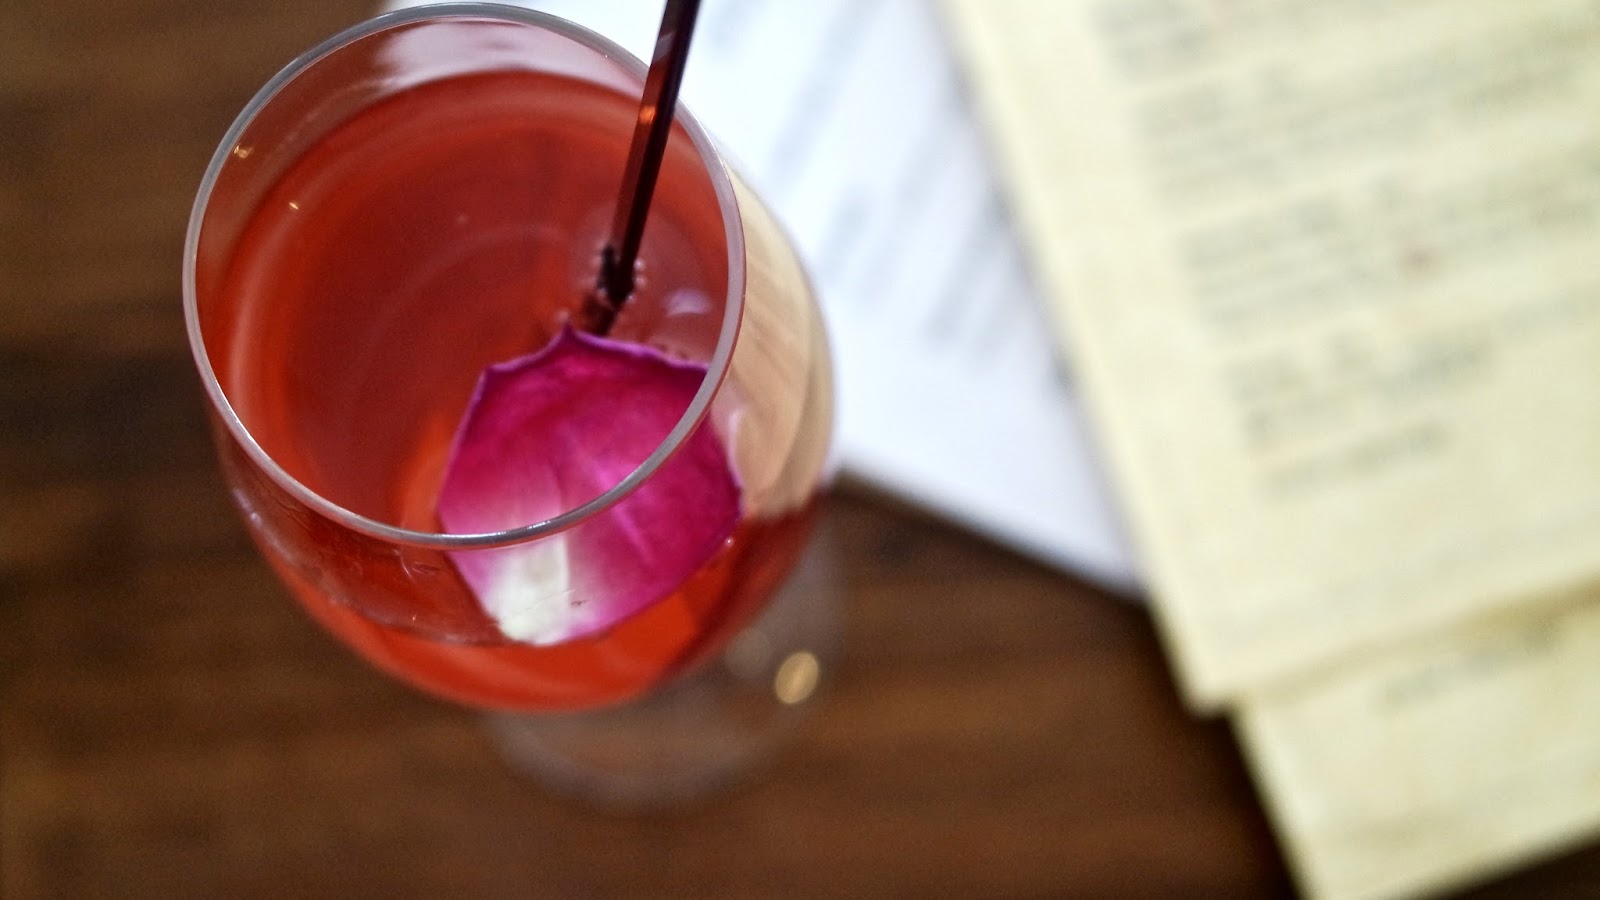
While in my flat I am lucky enough to have a quite a few pretty surfaces, they’re not quite in the right position to get the kind of natural light some photos require, so being able to pop the cardboard near the window makes setting up photos a breeze. When it comes to flatlays, although marble and white may look clean and professional don’t be afraid to mix it up with textures and colours. When I’m at home I like to put a scarf or coloured paper in the background to break up the colours or when I’m out and about I’ll often put the menus in the background (like in the above photo of a cocktail after #SteelCityBlogMeet last week!).
Use some props;

Candle Plate – £1.00 || Milk Bottle – £2.25 || Heart Bowl – £4.00 || Fake Flowers – £1.50
One thing I found a challenge when I first started doing flatlays was getting the items, especially circular bits like lipstick, to stay still. However, when I was in Poundland I found a double sided tape with the scrapbooking bits and now use this to stick them in place.
Let me know if you find any of these tips helpful, or what your favourite (and budget friendly) way to make your blog photos pop?
Find me on;
Bloglovin’ | Twitter | Instagram


That manual settings sheet is genius Fran – always loved our photos! Thank you for this xx
Thank you beaut!! xx
That manual settings sheet is genius Fran – always loved our photos! Thank you for this xx
i love the cheat sheet! so helpful! I definitely need to invest in some time with my camera and get to know its settings better!
Pam xo/ Pam Scalfi♥
Hope it helps 😀 xx
i love the cheat sheet! so helpful! I definitely need to invest in some time with my camera and get to know its settings better!
Pam xo/ Pam Scalfi♥
Thank you beaut!! xx
Hope it helps 😀 xx