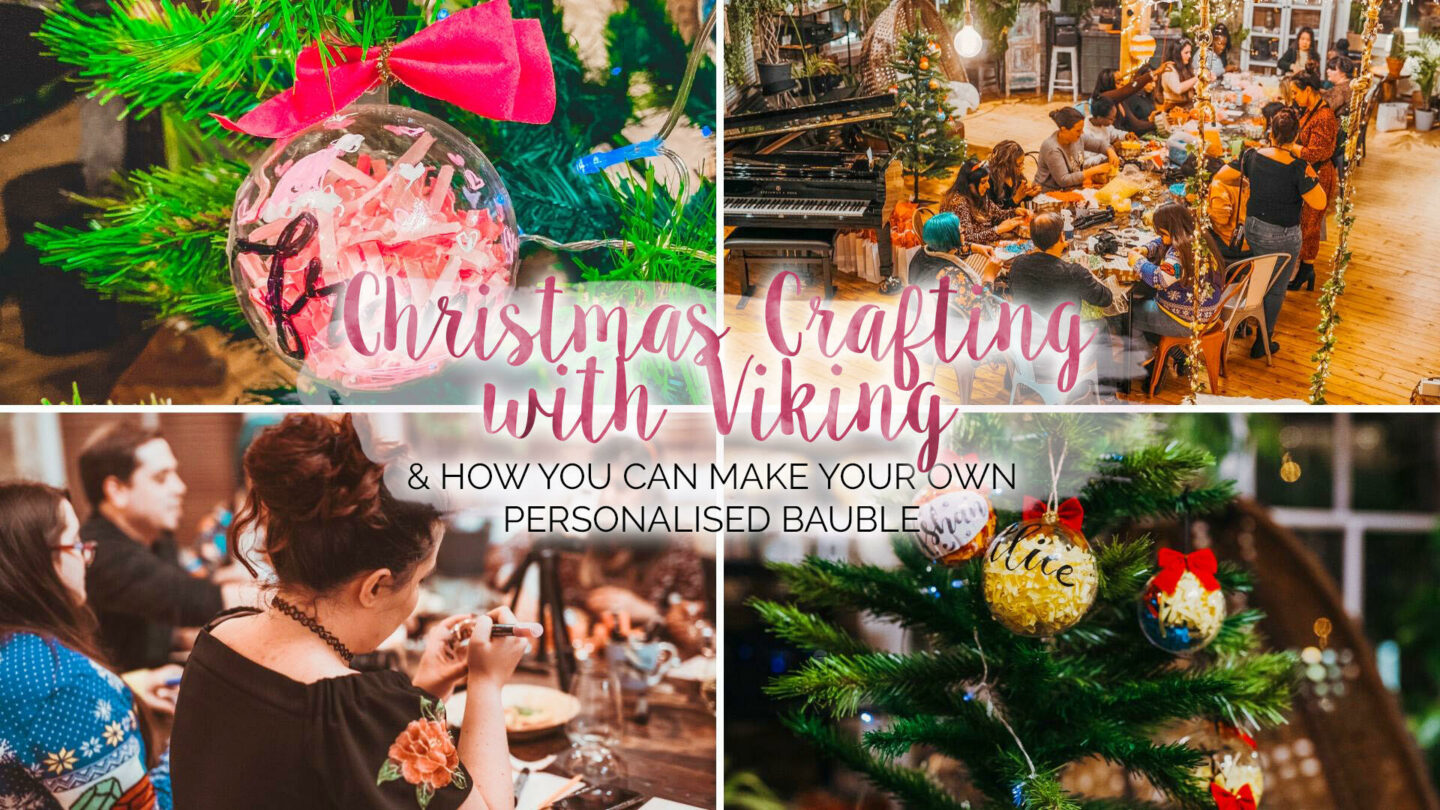
As the song says, “it’s the most wonderful time of the year…“, and Christmas is right around the corner. And to start off this year’s festive content, I thought I’d share with you something I learned when I headed over to Shoreditch Treehouse with Viking for some Christmas crafting. We made our own customised baubles and, to be honest, I was shocked at how simple and effective it was. So I thought I’d share a guide with you lovely lot below. (& spoiler alert to people who know me “in real life”, don’t be shocked if you get one of these in your stocking next year…)
Christmas Crafting with Viking at Shoreditch Treehouse
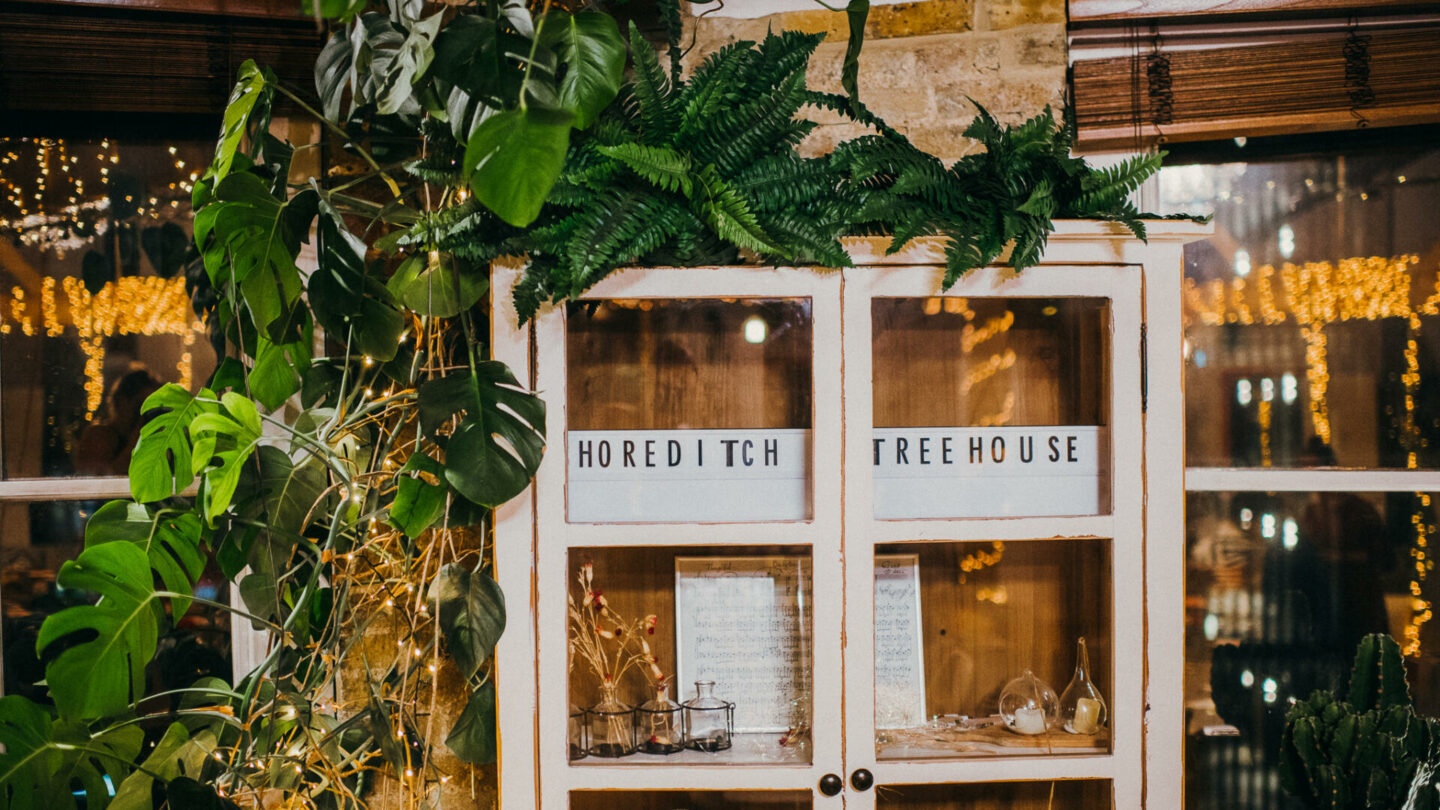
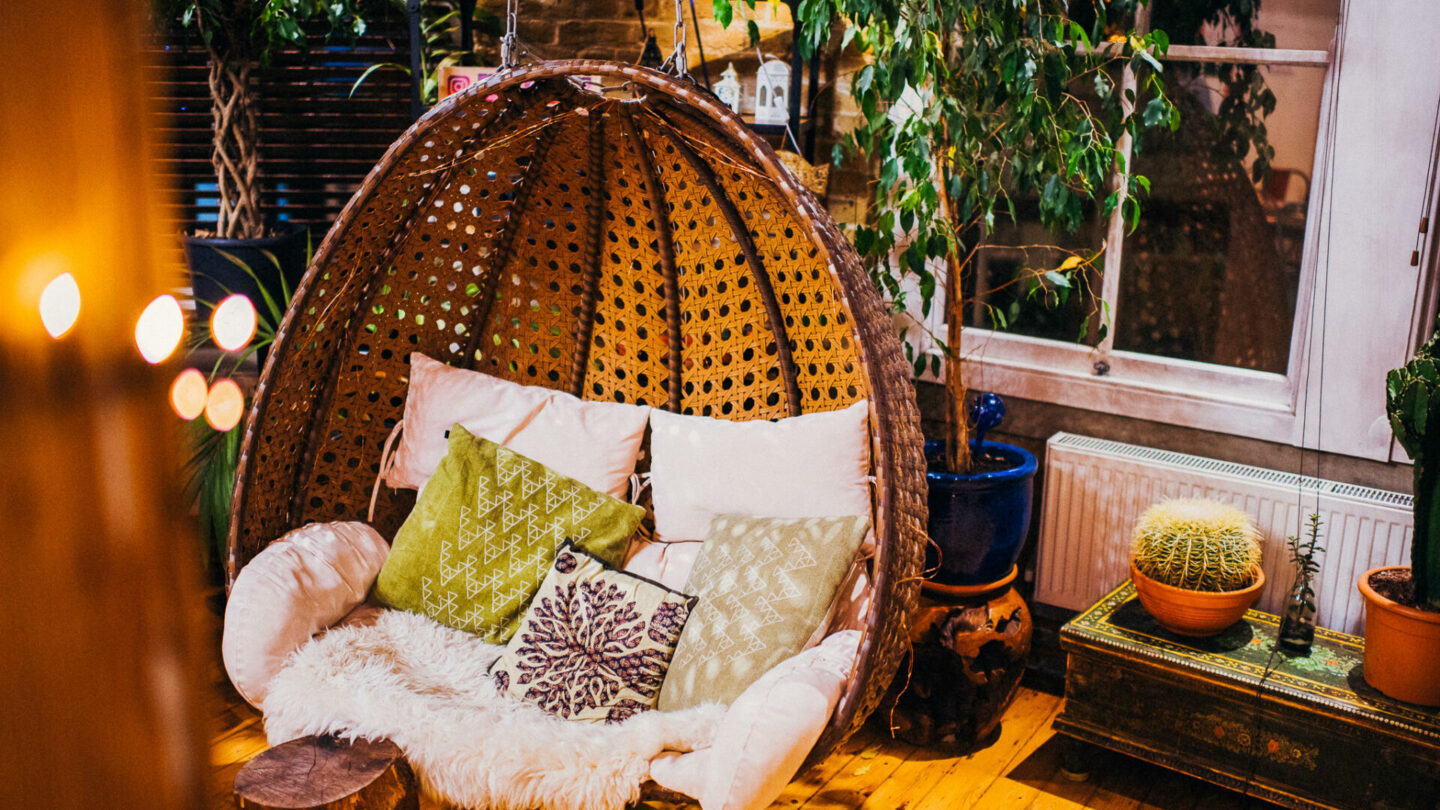
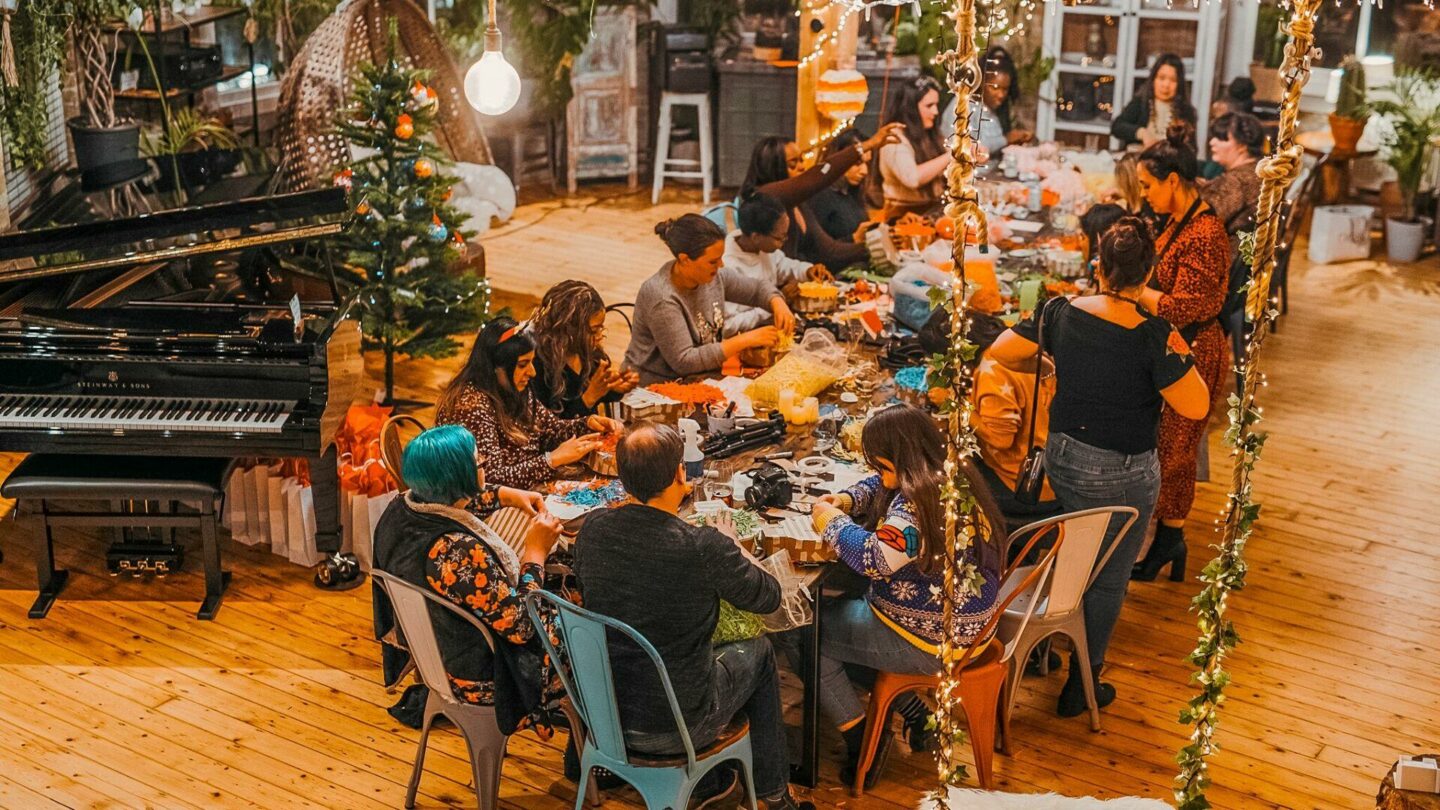
So before I tell you how to make your own bauble, I thought I’d tell you a little bit more about the evening itself. I first need to mention the venue itself as it is stunning. I didn’t quite know what to expect when I read the name Shoreditch Treehouse. Especially when I read the instructions on how to get there. But, after climbing the stairs up I can tell you that I was absolutely blown away. The top floor venue really does live up to the treehouse name as it feels like you’ve stepped into another world. With hanging swings, lots of greenery and perfectly eclectic wooden furniture. It’s really got that wow factor.
We got settled in and I was sat next to the lovely Cat from What Cat Says. We got on like a house on fire and it made the evening even more fun. So with a prosecco in hand, it was time to start the crafting with making our own baubles…
How To Make Your Own Bauble
Now, let’s get on with how you can make your own baubles too. Here’s what you’ll need:
- A pack of Acrylic Fillable Baubles. (Amazon has them in loads of different sizes.)
- Permanent markers.
- Ribbon or string to hang.
- Brightly coloured paper to shred and a shredder.
- Clear stickers or tape.
- Optional – bows to dress the top.
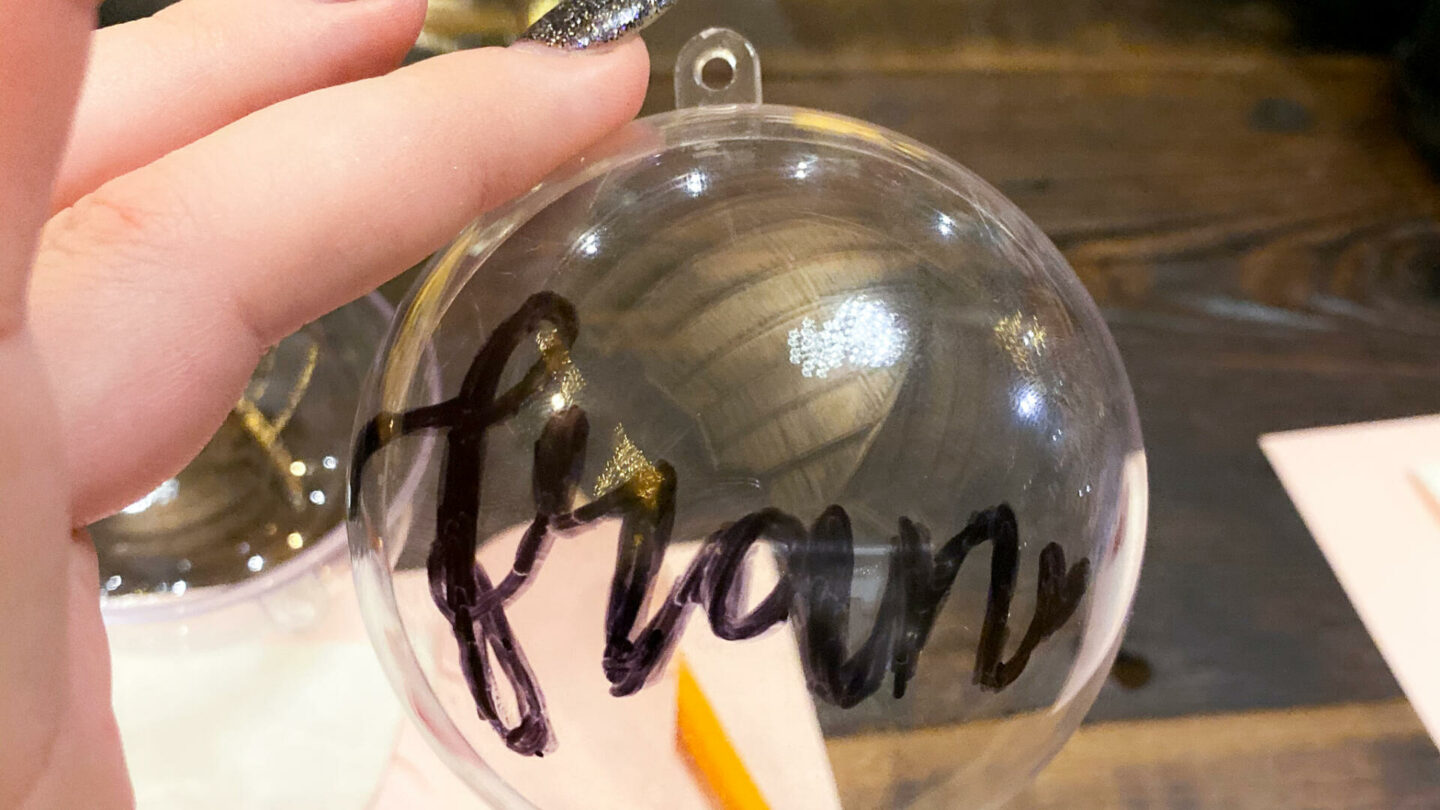
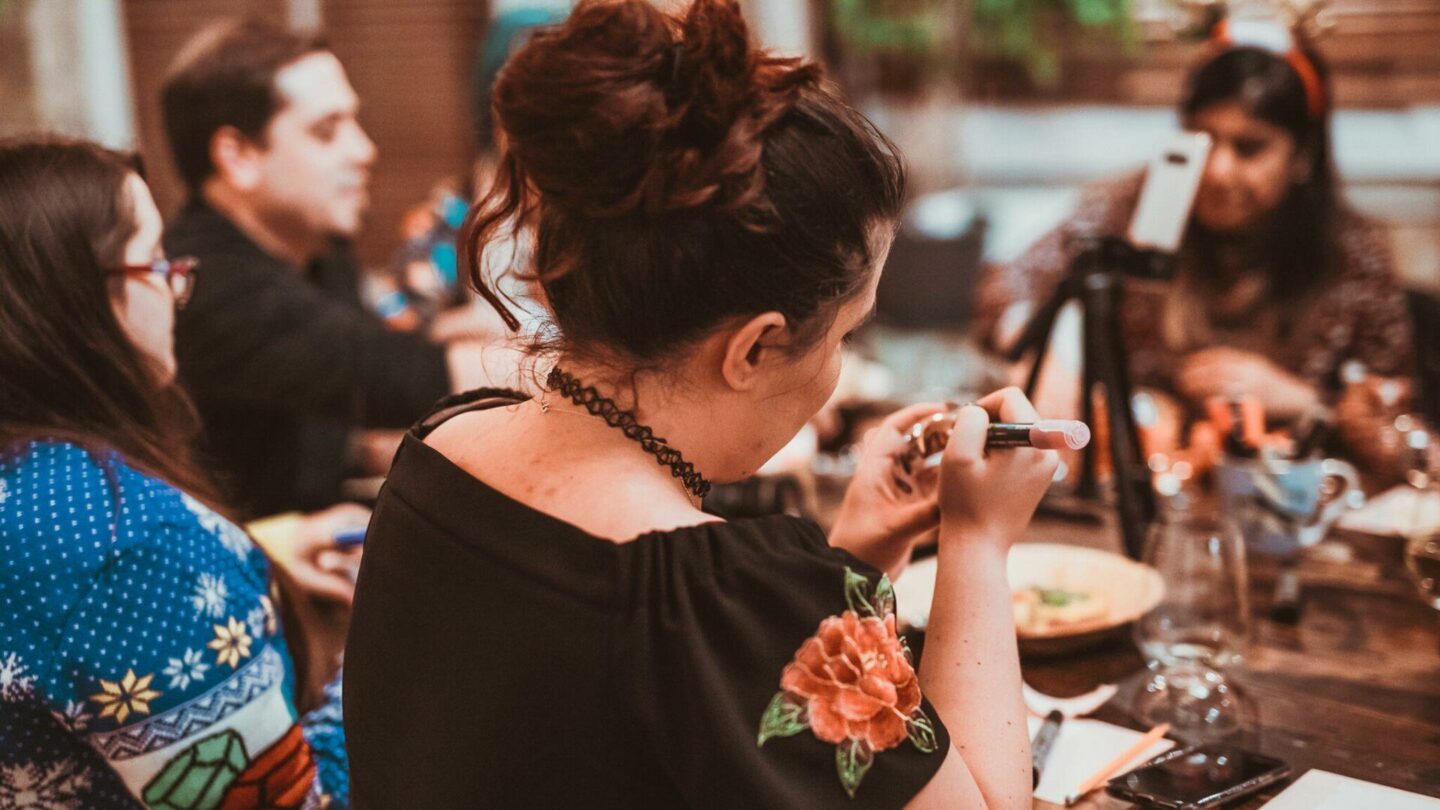
With the items I’ve mentioned, you could really decorate your bauble however you wished to. However, the team from Viking had come up with the great idea to print each of our names and initials off in a rather lovely cursive font. We put these print outs inside the bauble casing and used the markers to draw over the top. As someone who’s handwriting is admittedly messy at best, it really was a stroke of genius. Looking at my bauble you’d never know that thanks to tracing it. We then picked our coloured paper and shredded it, using this to fill the bauble. Then, we used the stickers to seal them up, add the ribbon and bow and they were ready for the tree.
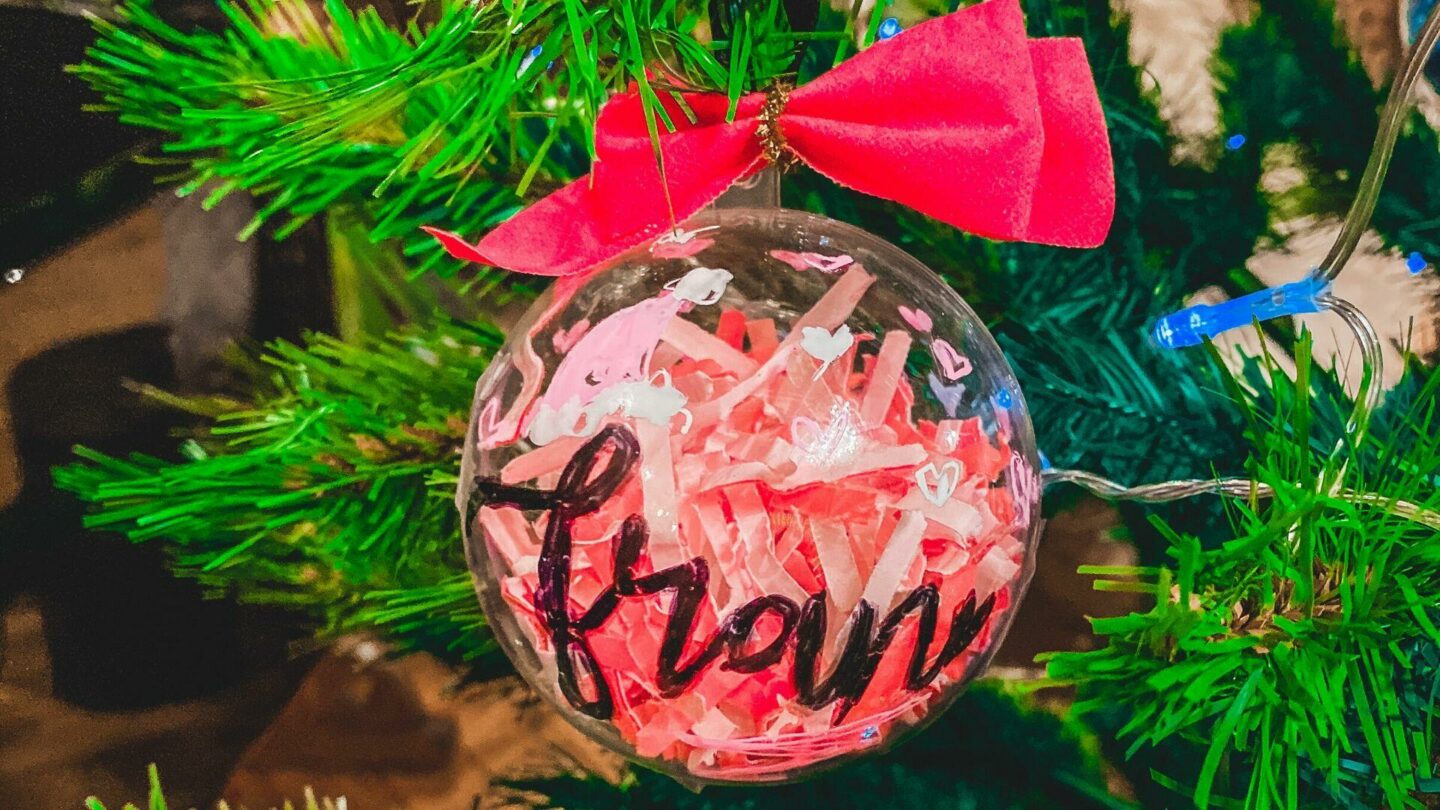
Don’t they just look gorgeous? I think they’d look great on anyone’s tree! &, if you do end up making your own this year or next, please do let me know. I’d love to see what you create.
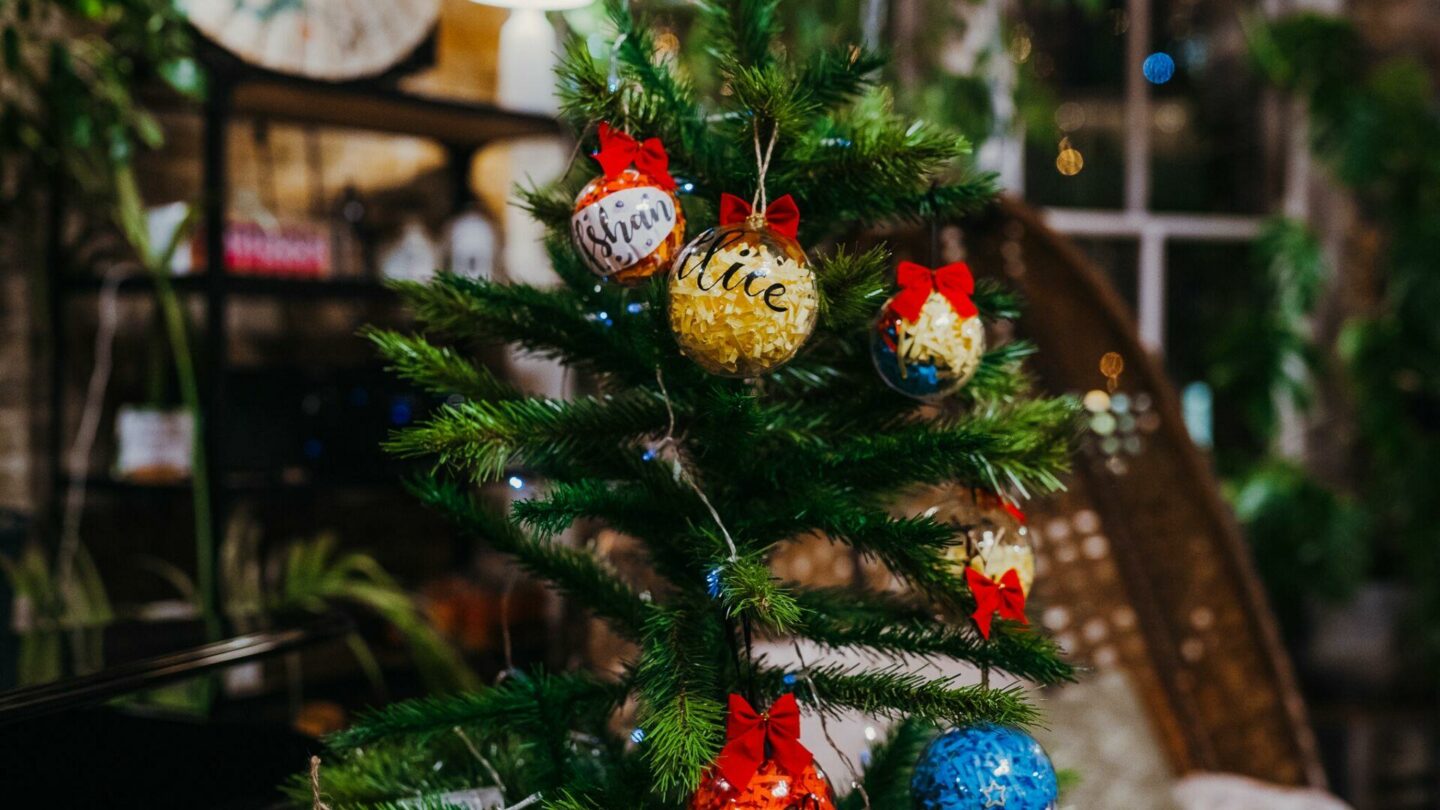
Thank you again to Viking for a wonderful evening!
Find me on;
Bloglovin’ | Twitter | Instagram

